| Deletions are marked like this. | Additions are marked like this. |
| Line 28: | Line 28: |
| Click on '''Continue'': | Click on '''Continue''': |
| Line 32: | Line 32: |
| If you're not sure how to follow these instructions, don't worry - we'll come back to them. To set up your computer to automatically load !FreeSurfer whenever a terminal window is opened add the following lines to the '''.profile''' file in your home directory (If you don't already have a '''.profile''' file in your home directory, you can go ahead and create one using pico or some other text editor): | If you're not sure how to follow the instructions in the Read Me window, don't worry - we'll come back to them. To set up your computer to automatically load !FreeSurfer when a terminal window is opened, add the following lines to the '''.profile''' file in your home directory: |
| Line 39: | Line 39: |
|
If you don't already have a '''.profile''' file in your home directory, you can go ahead and create one using pico or some other text editor: {{{ pico .profile }}} Copy and paste the two lines from the previous section into the blank screen that appears. Do Ctrl+x to exit. Type 'y' and then hit enter to save your changes. |
|
| Line 41: | Line 48: |
| Click on '''Continue''', and read the end user license agreement, scrolling down using the bar along the right side of the window. | On the installation wizard, click on '''Continue''' and read the end user license agreement, scrolling down using the bar along the right side of the window. Click '''Continue'''. |
| Line 44: | Line 51: |
|
Click on '''Continue''' and a window will appear with the option to agree or disagree to the license. |
|
| Line 49: | Line 53: |
| Click on '''Agree''', and the next screen will appear. Select where to install the software. The directory /Applications on the selected disk will be used. If you wish to install to a different directory, click on '''Choose''' and select an alternate installation location. | After you agree to the license agreement, you can select where to install the software. Highlight the hard drive where you want to install it (if not already highlighted). To change the directory where it is installed (Applications is the default location), hit the '''Choose''' button. |
| Line 53: | Line 57: |
| If it is not already highlighted, click on the hard drive on which to install the software. | |
| Line 57: | Line 60: |
| Click on '''Continue''' to confirm the disk selection. | Click '''Continue'''. |
| Line 67: | Line 70: |
| Click on '''Install''' and the package will begin to be installed on the designated hard drive. | Click on '''Install''' and the package will begin to be installed at the location you chose. The installer may then optimize the hard drive for performance. |
| Line 75: | Line 78: |
|
The installer may then optimize the hard drive for performance. |
|
| Line 79: | Line 80: |
| Once the optimization is finished, the installation process is successfully concluded: | Once the optimization is finished, the installation process should be successful: |
FreeSurfer Mac OS X Installation and Setup
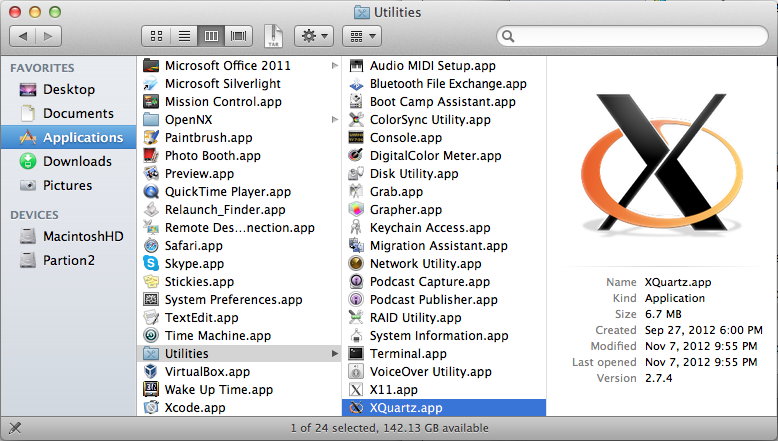
Before proceeding: The Max OS X machine must have XQuartz installed before you can run FreeSurfer. To check if you already have XQuartz, open a Finder window and look for it under Applications -> Utilities -> XQuartz. If it is not there, please download and install XQuartz before proceeding with the FreeSurfer installation. *NOTE:* Major upgrades to you Mac system (e.g. from Mountain Lion to Mavericks) will require a reinstallation of XQuartz.
Once the dmg installation file has been downloaded, double click on it to expand the package:

Double click on the mpkg to launch the installation wizard. If you get this error:
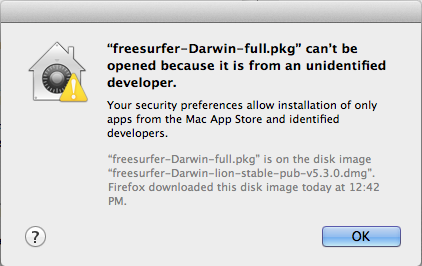
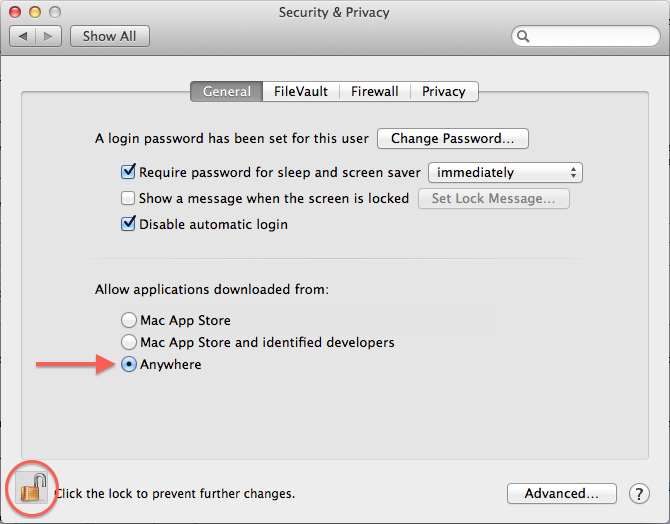
Then you need to adjust your security settings to allow applications from 3rd party developers to be installed. To do this go to System Preferences -> Security & Privacy -> General. Click the lock on the bottom left to make changes and under Allow applications downloaded from: select Anywhere.
After the package integrity has been verified, the introductory screen will appear.
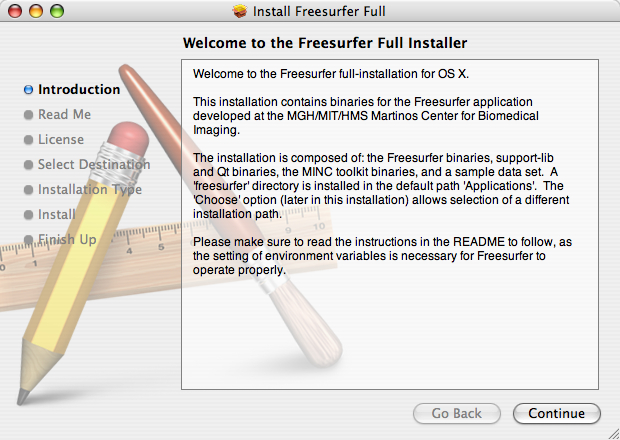
Click on Continue:
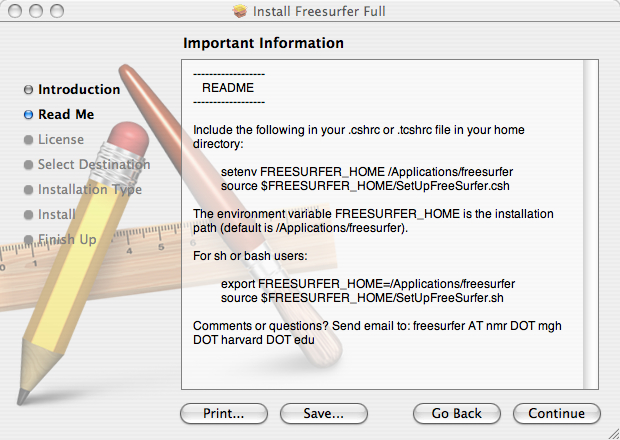
If you're not sure how to follow the instructions in the Read Me window, don't worry - we'll come back to them. To set up your computer to automatically load FreeSurfer when a terminal window is opened, add the following lines to the .profile file in your home directory:
export FREESURFER_HOME=/Applications/freesurfer
source $FREESURFER_HOME/SetUpFreeSurfer.sh
If you don't already have a .profile file in your home directory, you can go ahead and create one using pico or some other text editor:
pico .profile
Copy and paste the two lines from the previous section into the blank screen that appears. Do Ctrl+x to exit. Type 'y' and then hit enter to save your changes.
On the installation wizard, click on Continue and read the end user license agreement, scrolling down using the bar along the right side of the window. Click Continue.
After you agree to the license agreement, you can select where to install the software. Highlight the hard drive where you want to install it (if not already highlighted). To change the directory where it is installed (Applications is the default location), hit the Choose button.
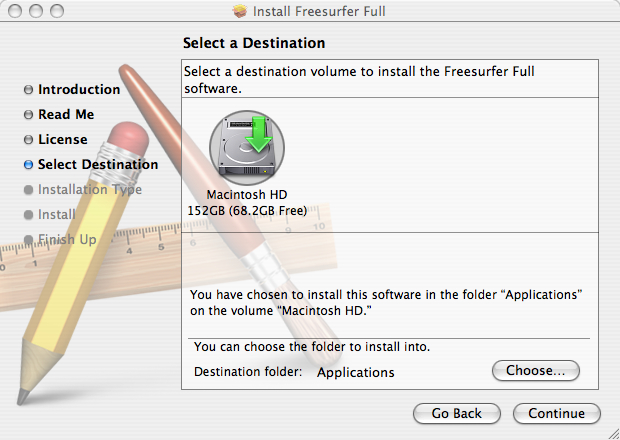
Click Continue.
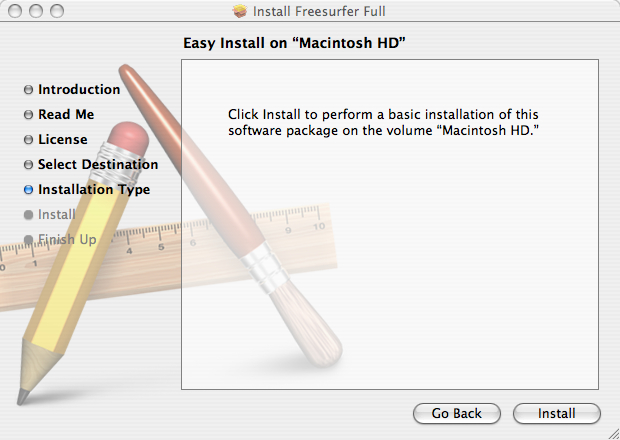
Click on Install and the package will begin to be installed at the location you chose. The installer may then optimize the hard drive for performance.
Once the optimization is finished, the installation process should be successful:
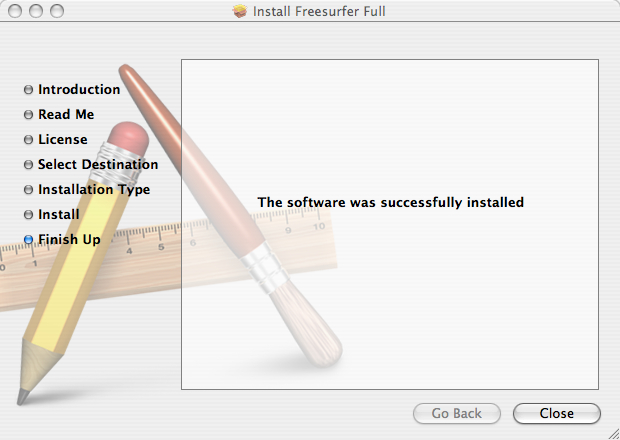
If you encounter errors during the installation, while still in the Installer, and Installer is still the primary application, click the Window -> Installer Log menu item to show the error log to see why installation failed.
Otherwise, click on Close to exit the installer.
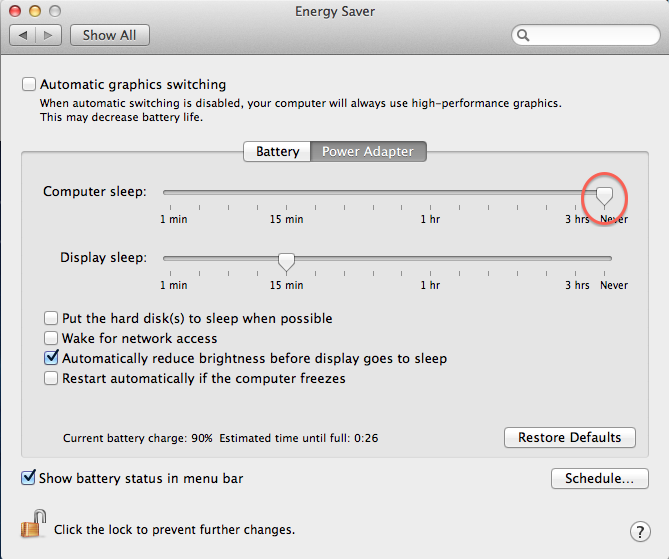
Lastly, if you intend to run recon-all (the processing script which can run for 24 hours) on your mac, we recommend setting your Power Adapter Energy Settings to 'Never' sleep, otherwise recon-all will only run when you are logged-in. This is done under System Preferences -> Energy Saver.
Setup and configuration of the environment is described next.
