Mac VM Install & Setup
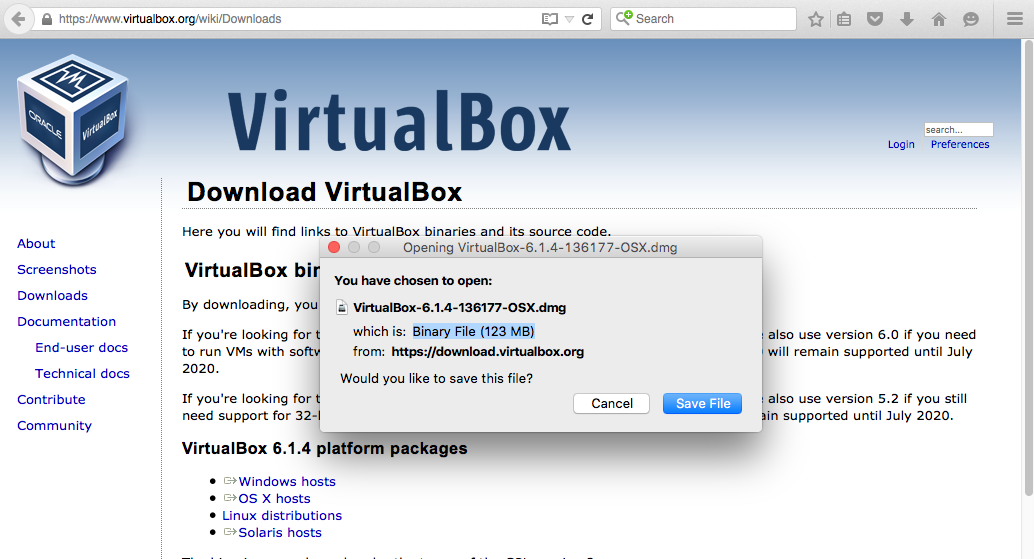
Download and install the VirtualBox application for MacOS from VirtualBox
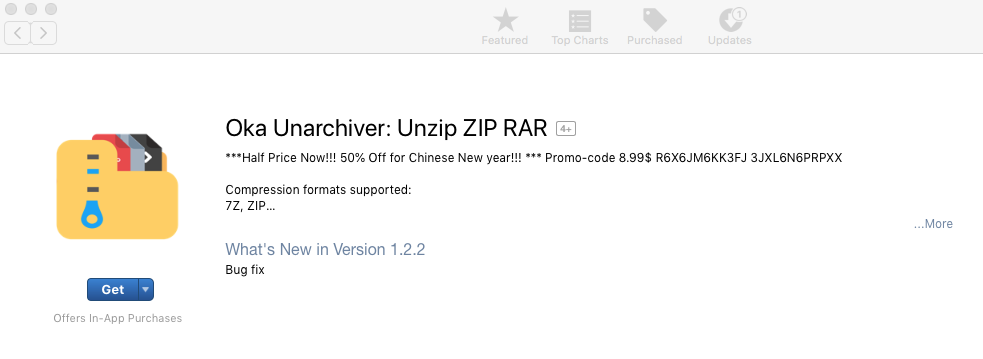
Download and install the Unarchiver program for 7 zip files (.7z) from the Mac app store or any other program that can uncompress 7 zip files. (Examples below will use the Unarchiver program).
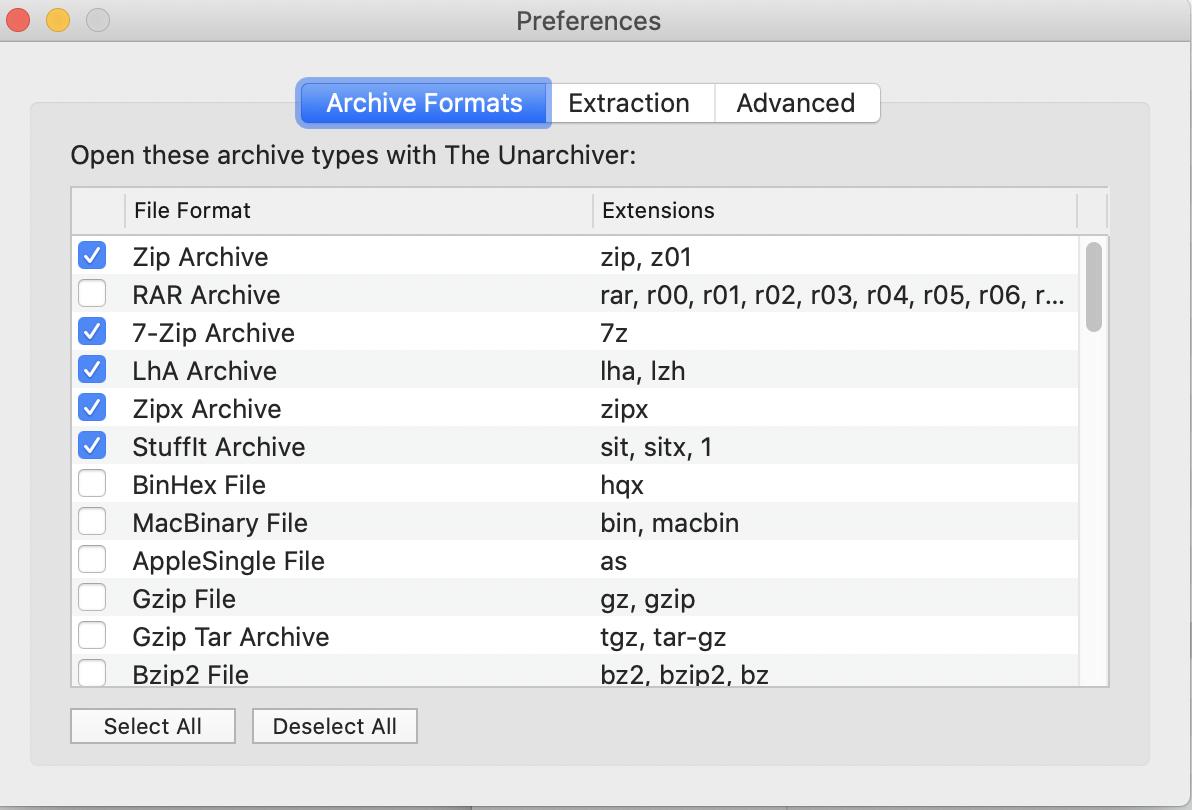
Open the Unarchiver program and check the preferences are checked to expand 7 zip files, e.g.,
Download the virtual disk image of the VM FStutorial_clone_2.7z image. Please note the compressed size of this file is ~30G and the uncompressed file size will be ~60G. The assumption below is there is enough free disk space in your Downloads folder to accommodate the ~30G ucompressed file.
In typical Mac style, you can drag the file icon for the FStutorial_clone_2.7z file on top of the icon for the Unarchiver program in order to uncompress it.
Please not that in the screenshots below the uncompressed disk image file has been moved to a new folder "VM" in the users home directory.
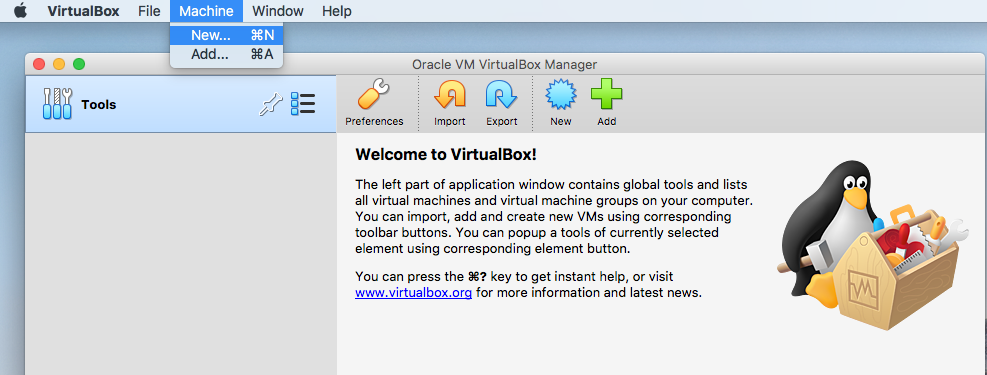
Open the VirtualBox application and select Machine -> New from the pulldown menu.
Fill in the parameters to name this new machine. Here it is named Ubuntu_FS_600_700b1_TutorialData but you can name it as you like.
The path to the folder under the users home directory with the disk image, VM, is specified here as the destination to also save files related to running it.
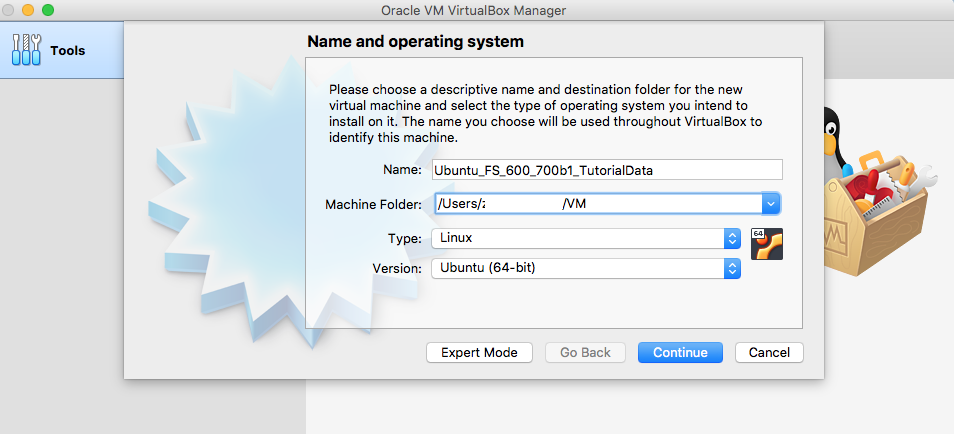
Then click the Continue button to continue and allocate memory to the VM.
While the VM can run with small amounts of RAM, speed and performance will increase with larger amounts of RAM. However, even if you have more than 16G of RAM on your host machine with more than 8G free to allocate to the VM, the recommendation is to start with no more than 8G allocated to the VM. This is because on some hosts, the VM may fail to initially boot when allocated more than 8G of RAM. If you do not have 8G of RAM free, then you can try running it with smaller amounts.
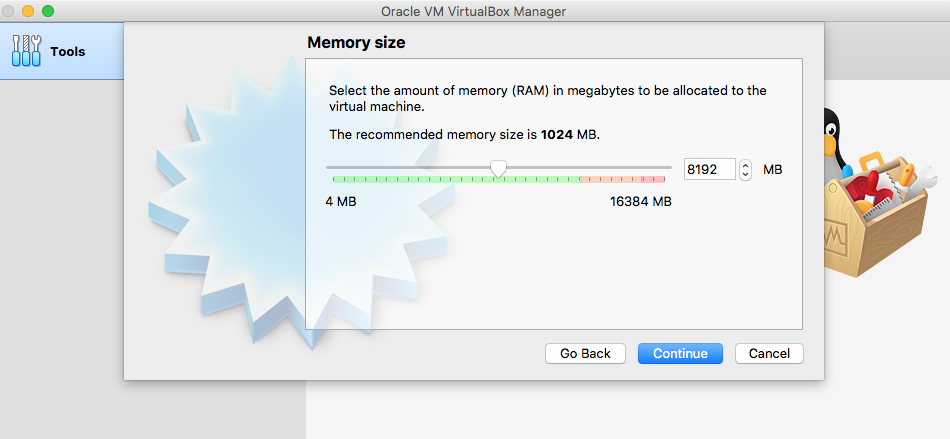
Click the Continue button after allocating memory.
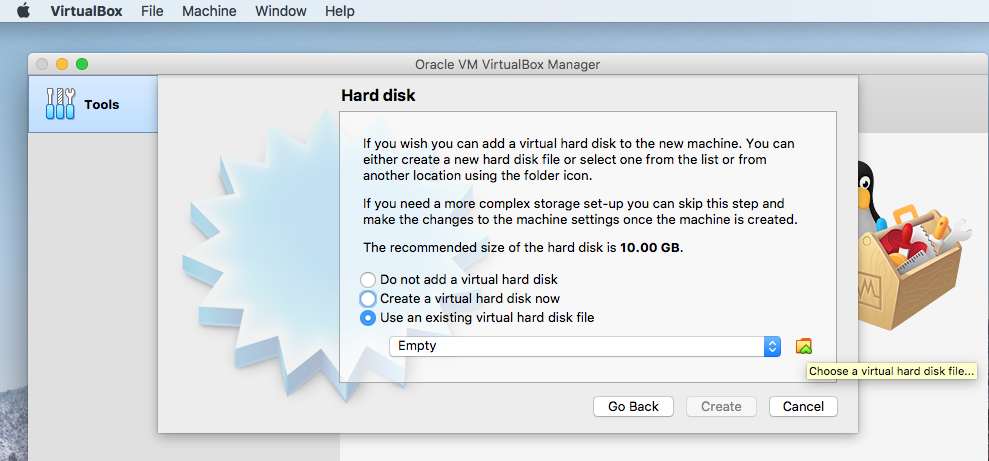
Select the VM will use an exiting disk image file and click on the folder icon to navigate to the subdirectory with the file FStutorial_clone_2.vdi
You should see something like this when navigating to the file,
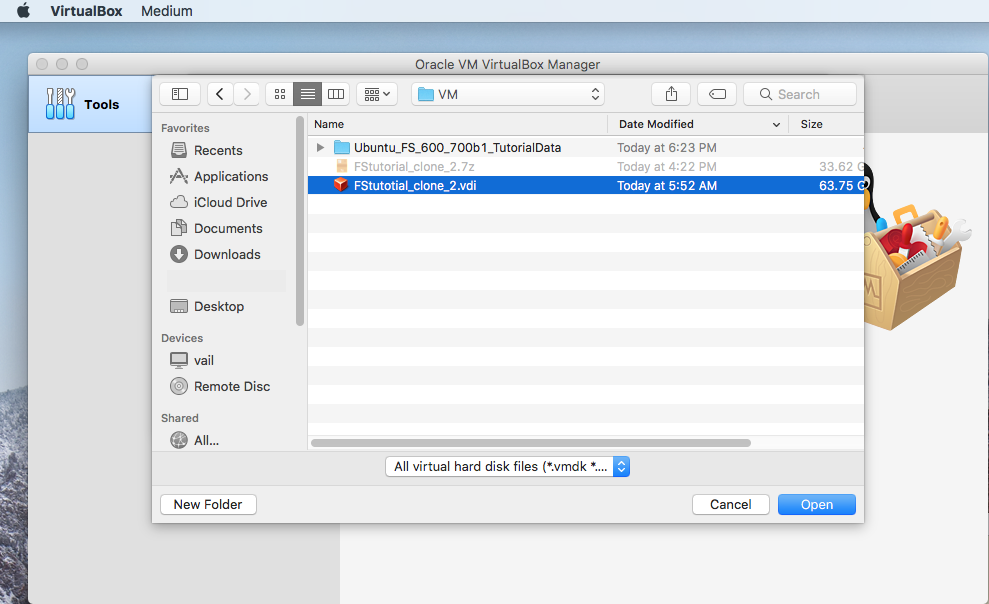
Select "open" after locating the file.
VirtualBox will then show you info about the disk image, noting that this "storage device" is not yet attached to the VM for use.
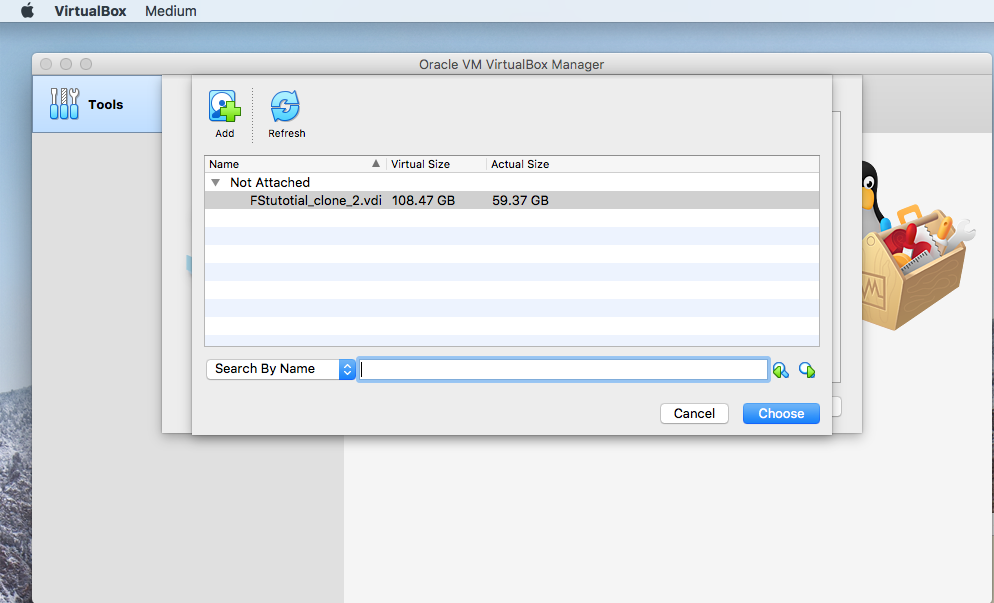
Select "choose" to attach the disk image file to the VM. VirtualBox will then bring you back to the previous menu where you selected to use an existing virtual hard disk - showing the info for the now attached disk image file.
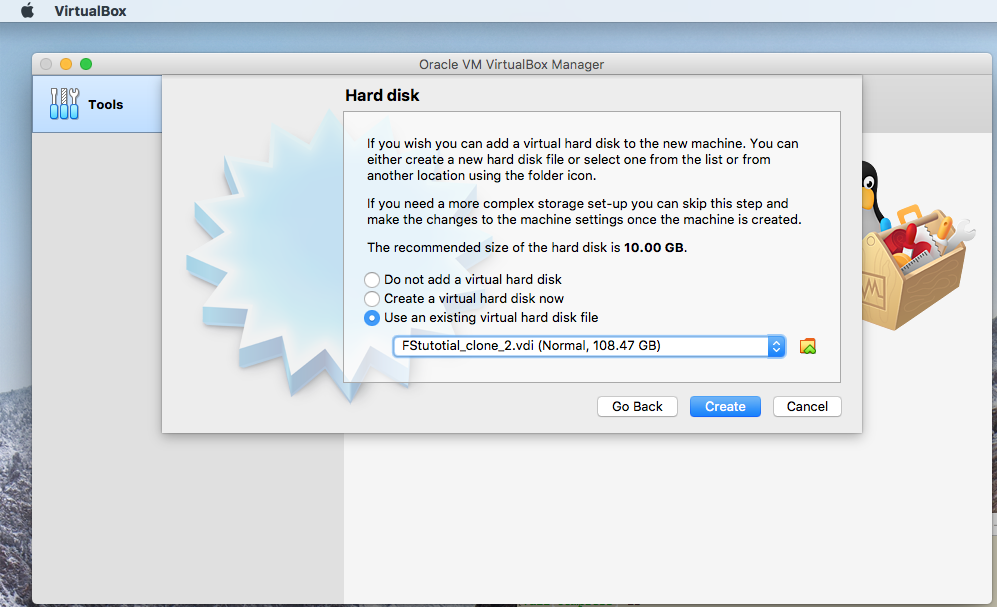
Note that the size listed for the disk image is not listed as 60GB but 108GB. Since this is a dynamic (not fixed size) VM, this means the maximum size the VM (disk image file on the host system) can grow to is 108GB. Or, since the image is initially 60GB, then 108 - 60 = ~47GB of empty storage are initially available inside the virtual machine to use for work, data, further installation of packages, etc.
Click on the "Create" button to create the VM.
You should now see an entry for the named VM ("Ubuntu_FS_600_700b1_TutorialData" in the example above) in the top level VirtualBox menu. You should be able to click on the entry and see the information for how the VM is currently configured.
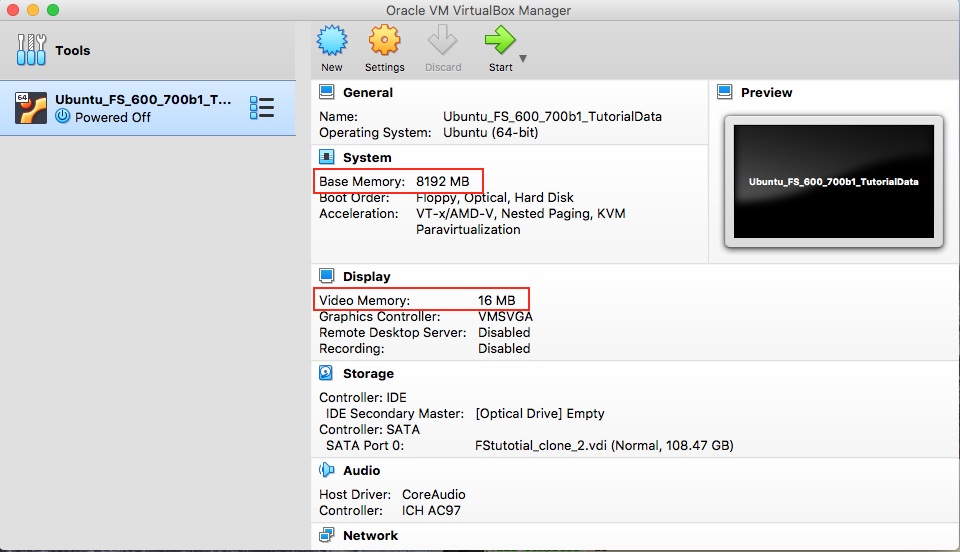
Many of the default settings used by VirtualBox are OK as is, but some changes need to be made for the VM to run (while others will improve the environment).
If you click on the "Settings" wheel icon at the top of the menu, additional settings by category can be viewed and changed.
![]()
Under the Basic tab you will see the entries from when the VM was created above.
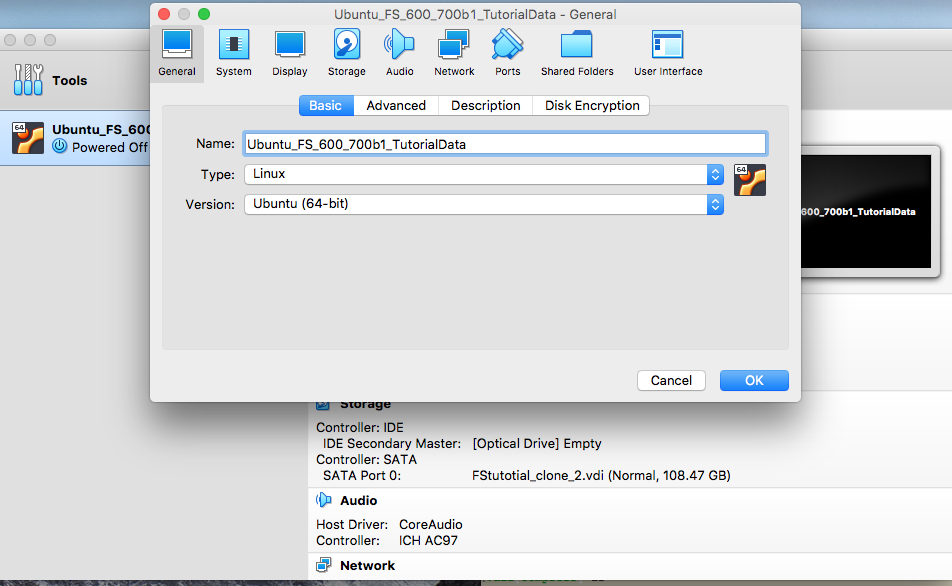
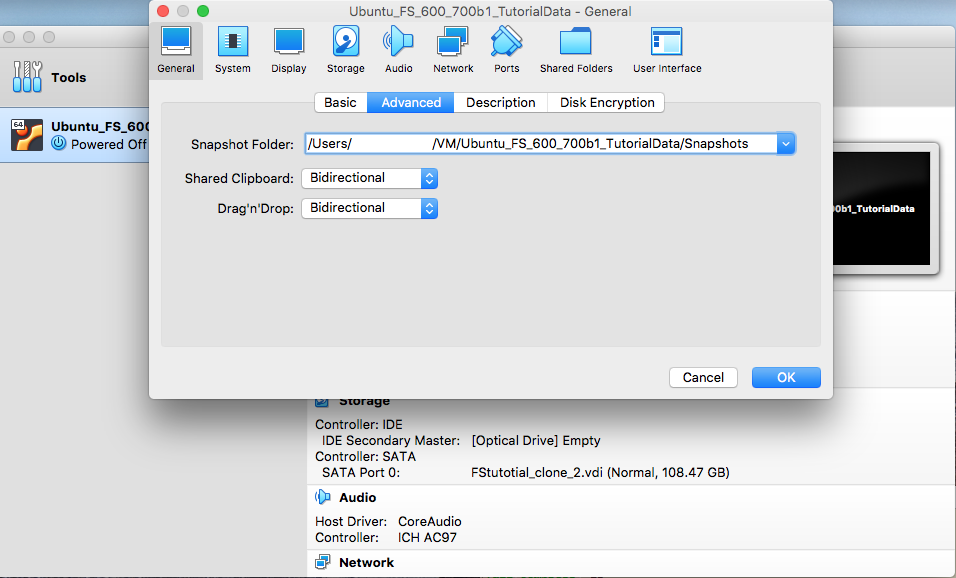
Under General -> Advanced you can change the clipboard settings to bidirectional so you can cut and paste text between the windows host and the guest VM.
The description can be left blank.
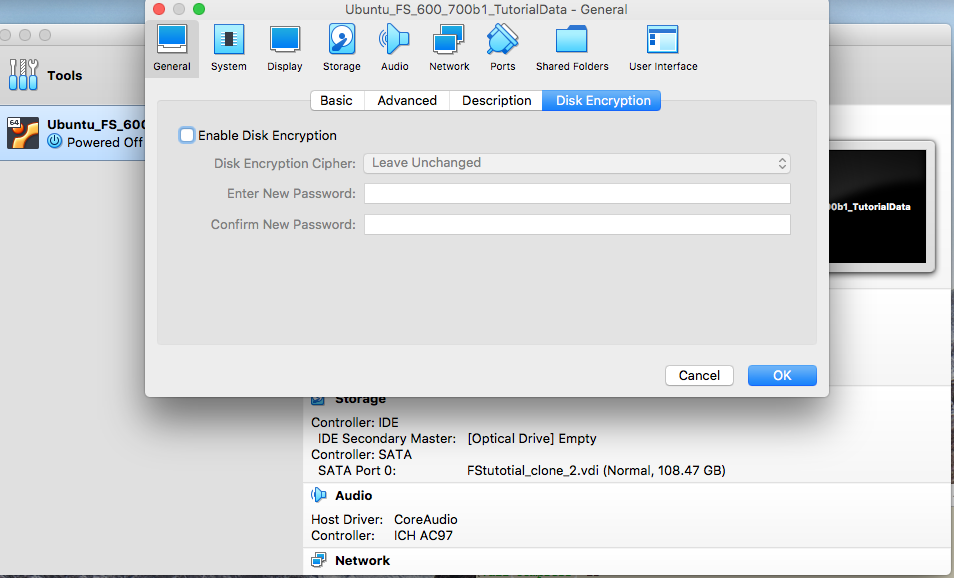
Disk encryption can be left turned off.
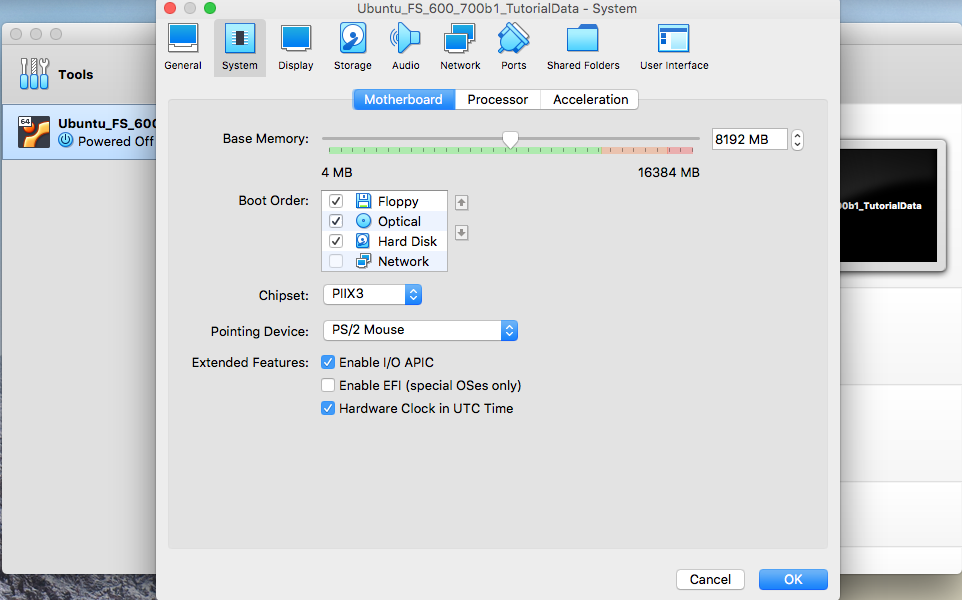
Switching to the System tab, change the settings under the Motherboard tab to specify that a mouse is in use. Verify the other settings, e.g., 8 GB of RAM allocated.
Then select OK.
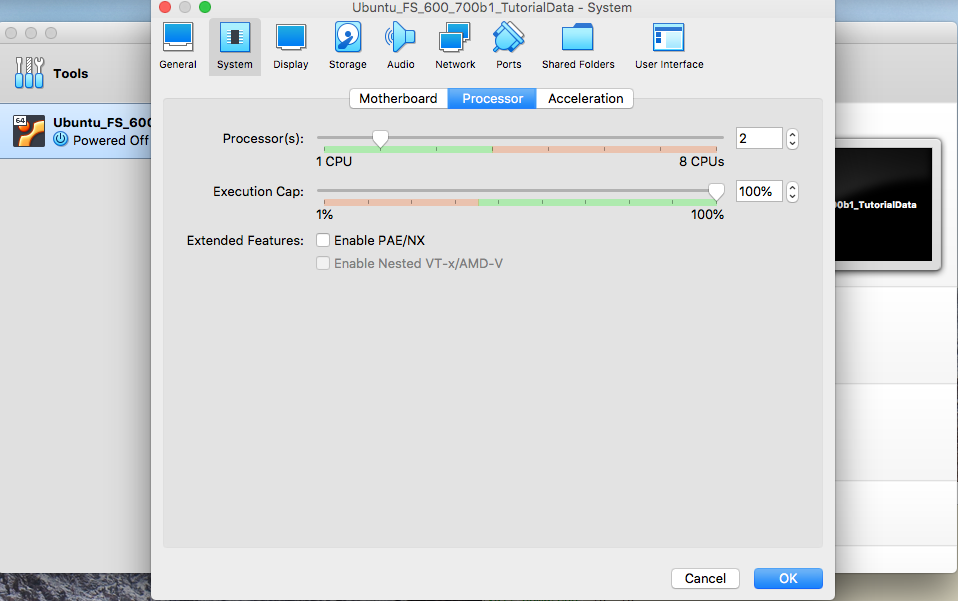
Now switch to the Processor tab.
Current multi-core Intel i7 and i9 chips afford the use of 4, 6, 8, 12 or 16 cores in consumer desktop machines including 16 cores in high end laptops. Please check the system CPU information reported by the OS on your machine to determine total number of available cores = physical cores + virtual cores (with virtual cores enabled by having hyper-threading turned on).
You can start with assigning 1/2 of all available cores to the guest VM assuming the host machine is not doing anything so computationally intensive that it in turn can make due with 1/2 the available cores. With an equitable split of CPU resources you can then allow the VM to utilize 100% of its "execution cap".
In the example below, a machine using an i7 chip with 4 total available cores assigns the full use of 2 cores to the VM (leaving 2 cores for the host machine).
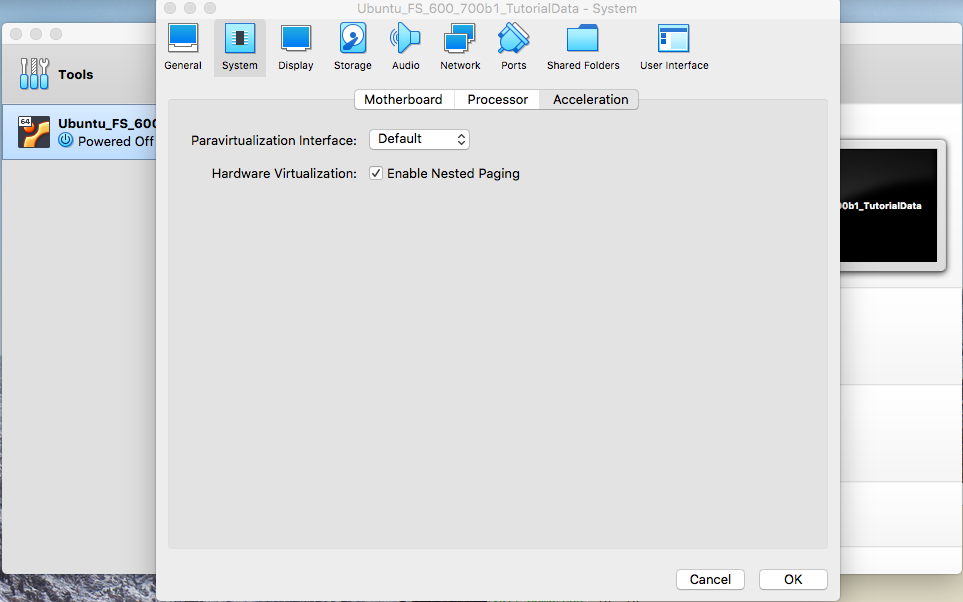
The acceleration settings can be left as is.
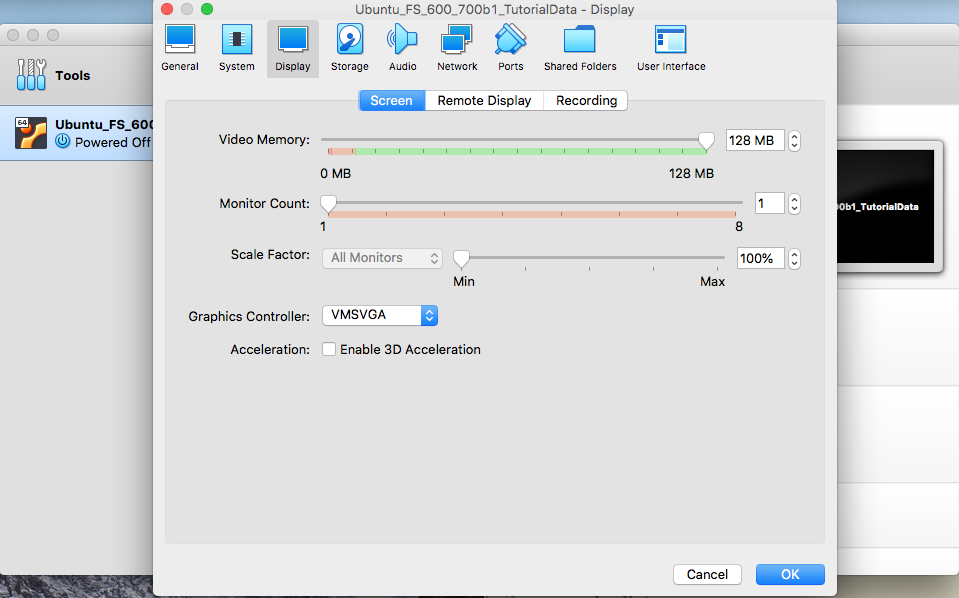
Switching now to the Display tab, the video memory can be increased to the maximum, the monitor count left at 1, and the graphics controller set to VMSVGA.
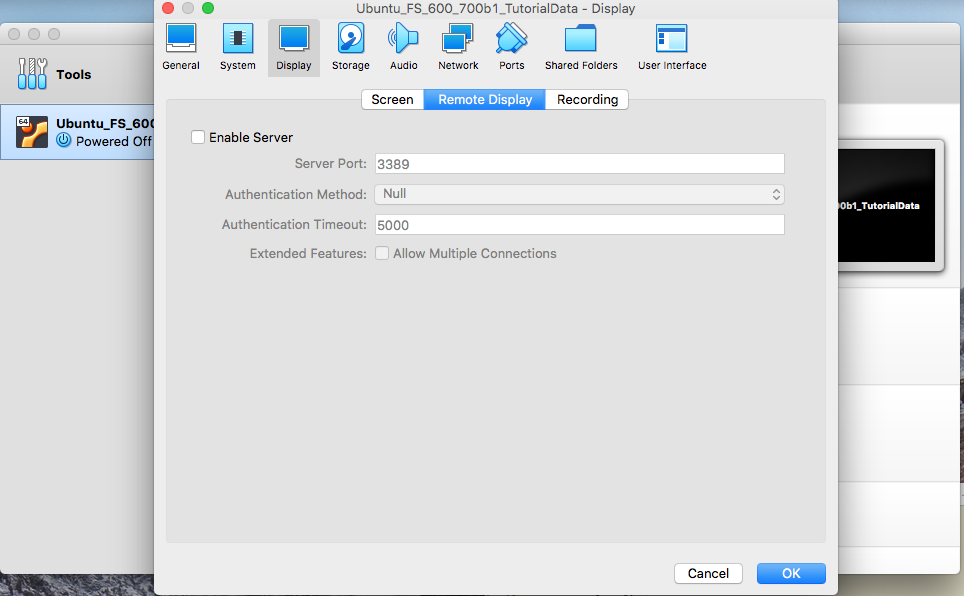
The remote display settings can be left as is.
The video recording settings can be left turned off (as is).
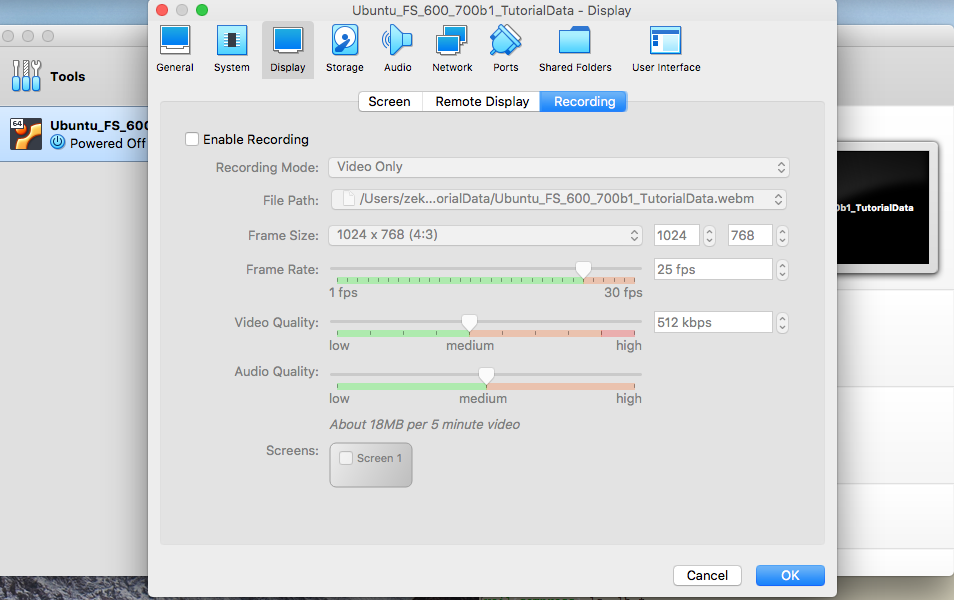
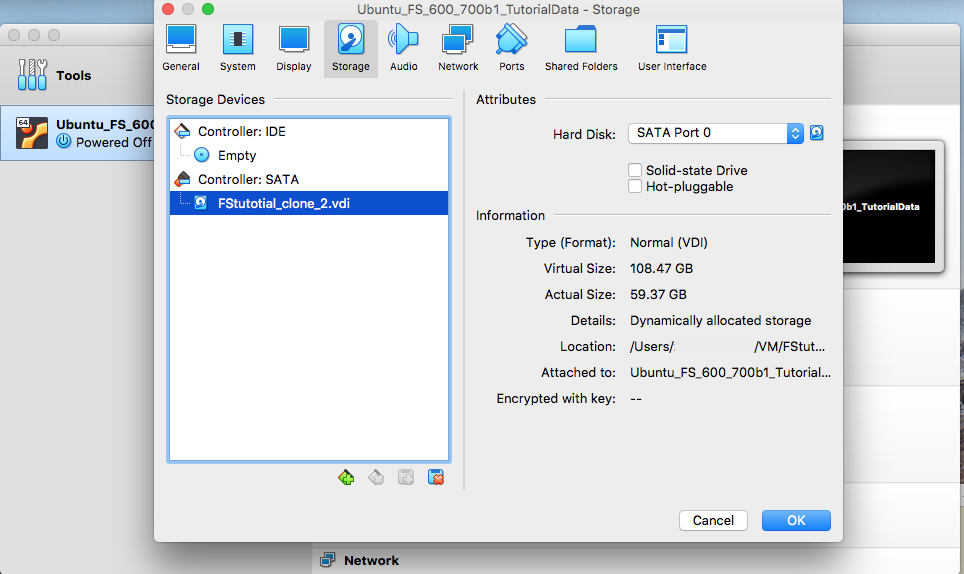
Switching to the Storage tab, you can verify the information for the attached disk image, e.g., the starting size of the image is smaller than the maximum dynamic size.
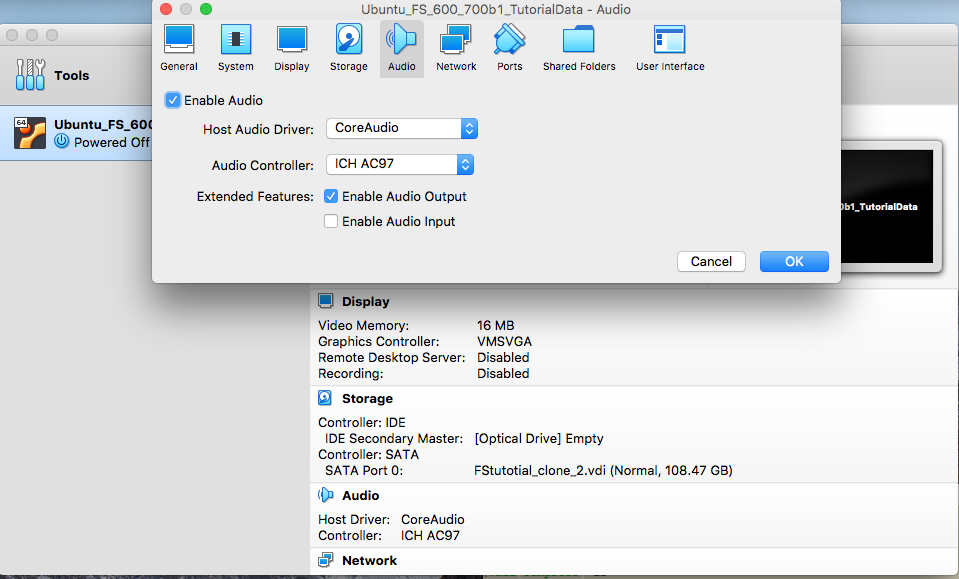
Switching to the Audio tab, all settings can be left as is. Note that your machine may have different hardware then the "ICH A97" controller listed in the screenshot.
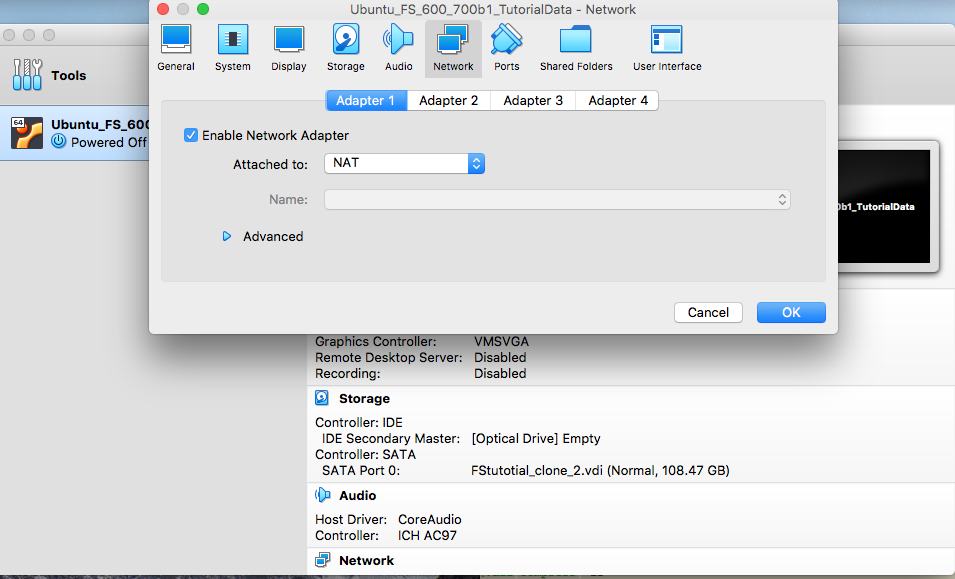
Switching to the Network tab, the setting can be left to NAT for the network connection on adapter 1. All the other adapter settings can be left as is.
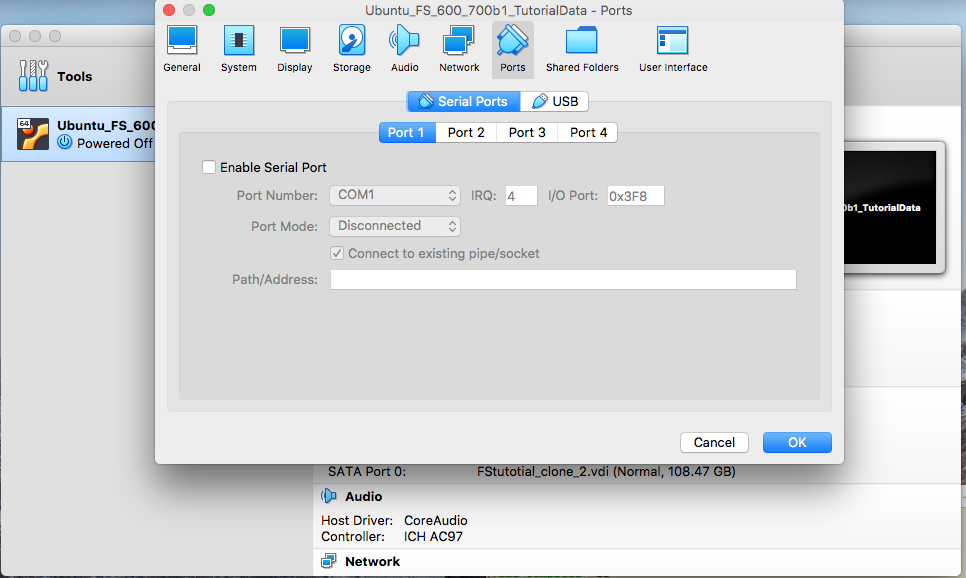
Switching to the Serial Ports tab, all settings can be left as is.
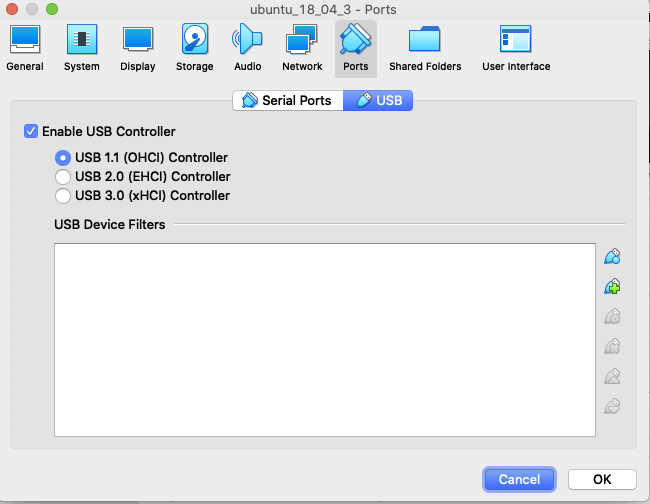
Switching to the USB tab, the settings can left as is (enabling USB).
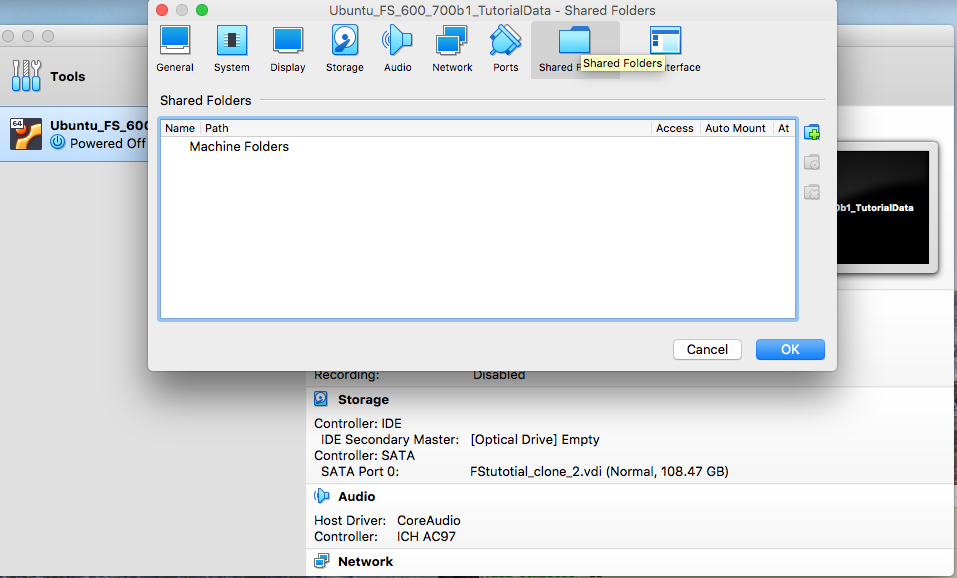
Switching to the Shared Folders tab, the settings can left as is.
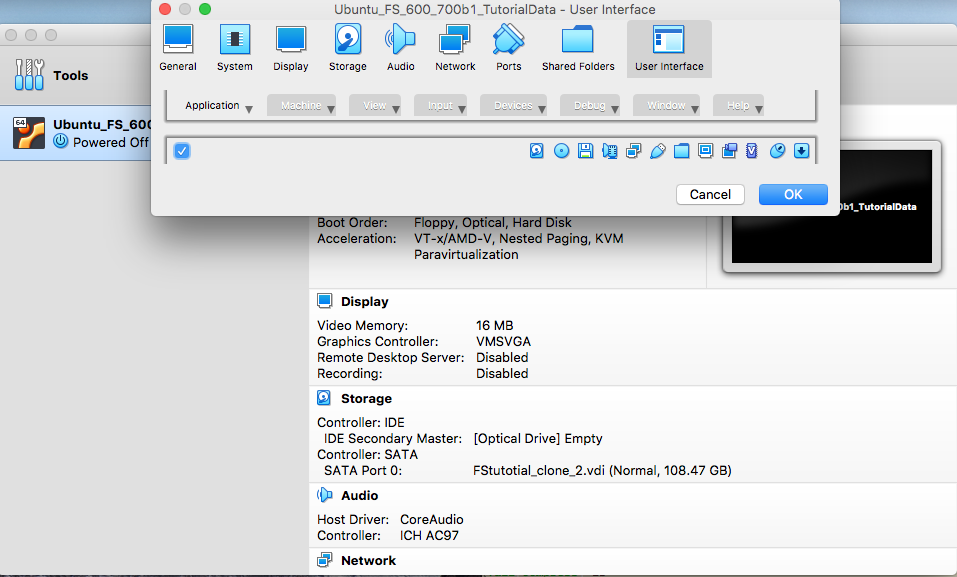
Switching to the User Interface tab, the settings can left as is.
Now return to the main menu and check some of the settings changes made above.
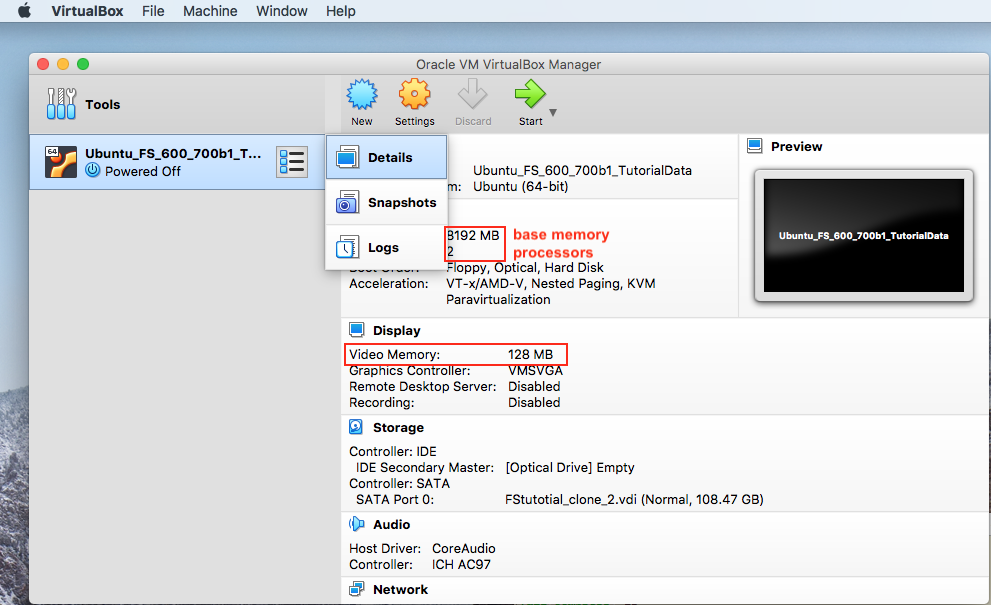
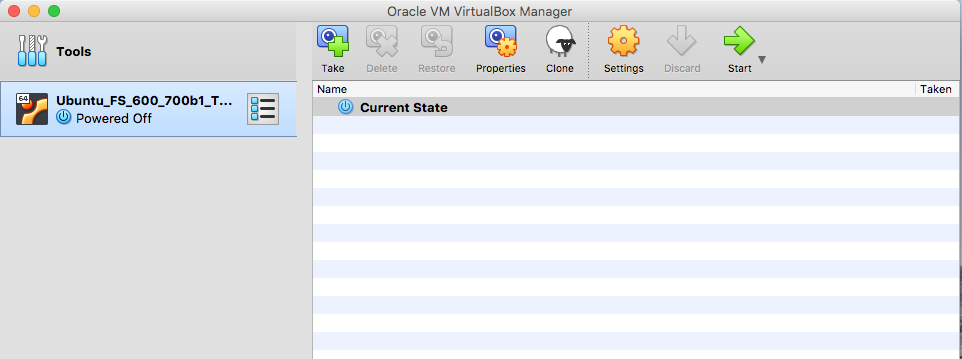
If you switch from the Details to the Snapshot view, the VM should report it is in its "current" or initial state with no snapshots.

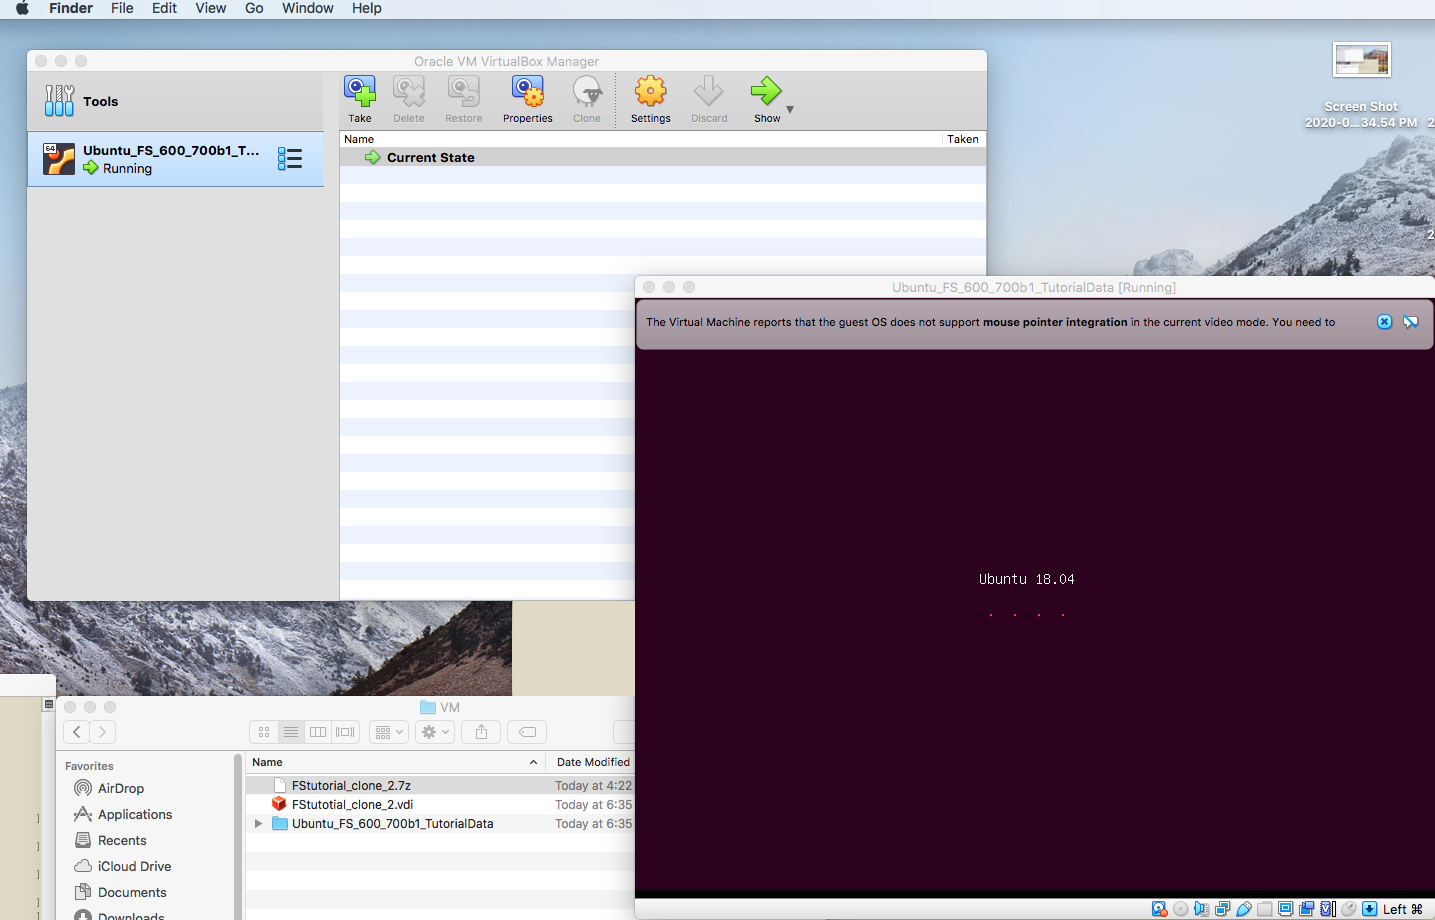
Now from either the Details or Snapshot window, start the VM by pressing on the green start button.

You should see the Ubuntu splash screen while the VM boots. You can click on the X's to close the notifications about "auto capture keyboard" and the "mouse integration".
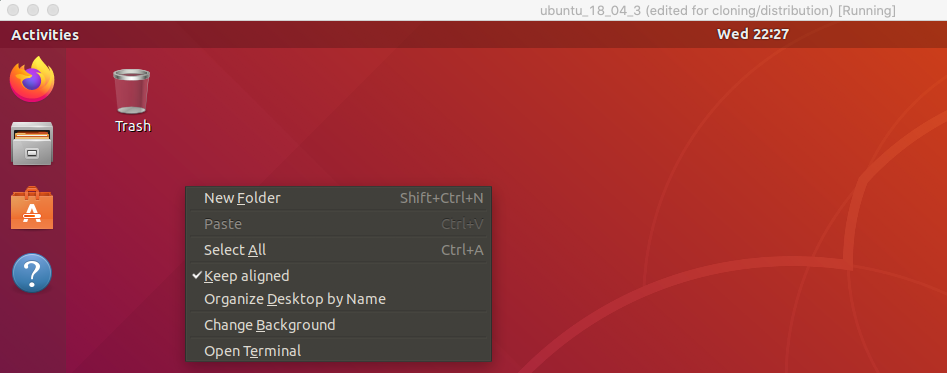
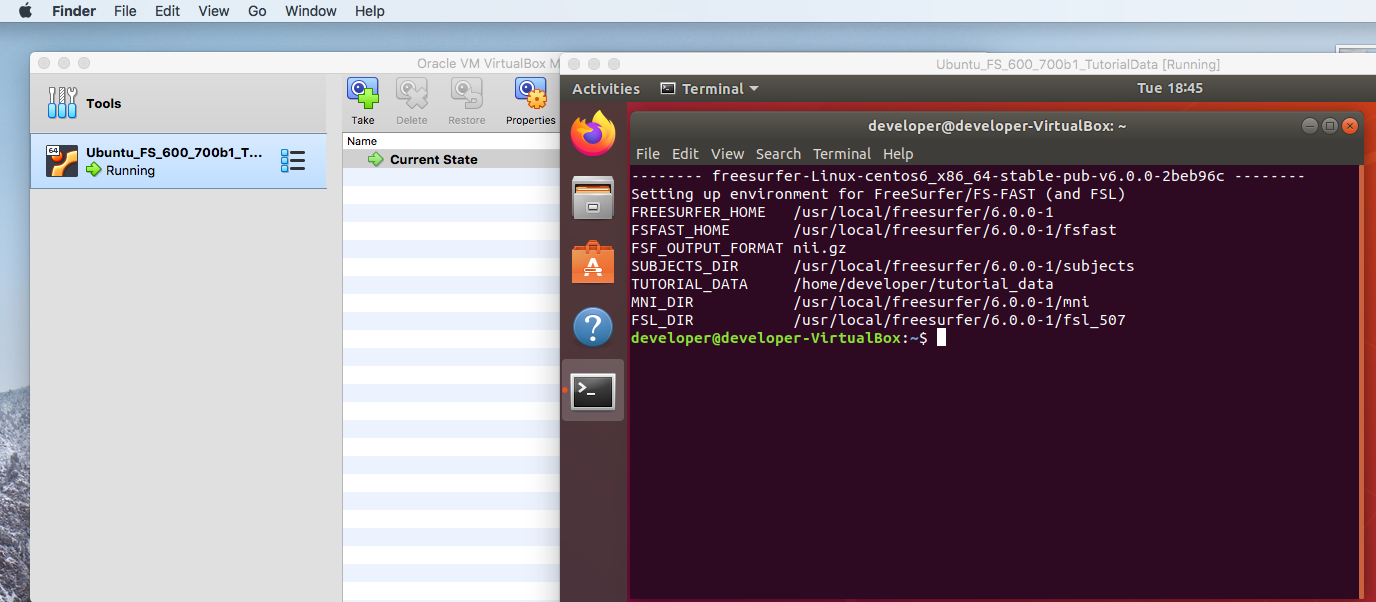
The empty Ubuntu desktop should appear if the boot is successful. You can right click in the desktop window to bring up a terminal.
This should bring up a terminal with the environment already set to use the 6.0.0 Freesurfer release.
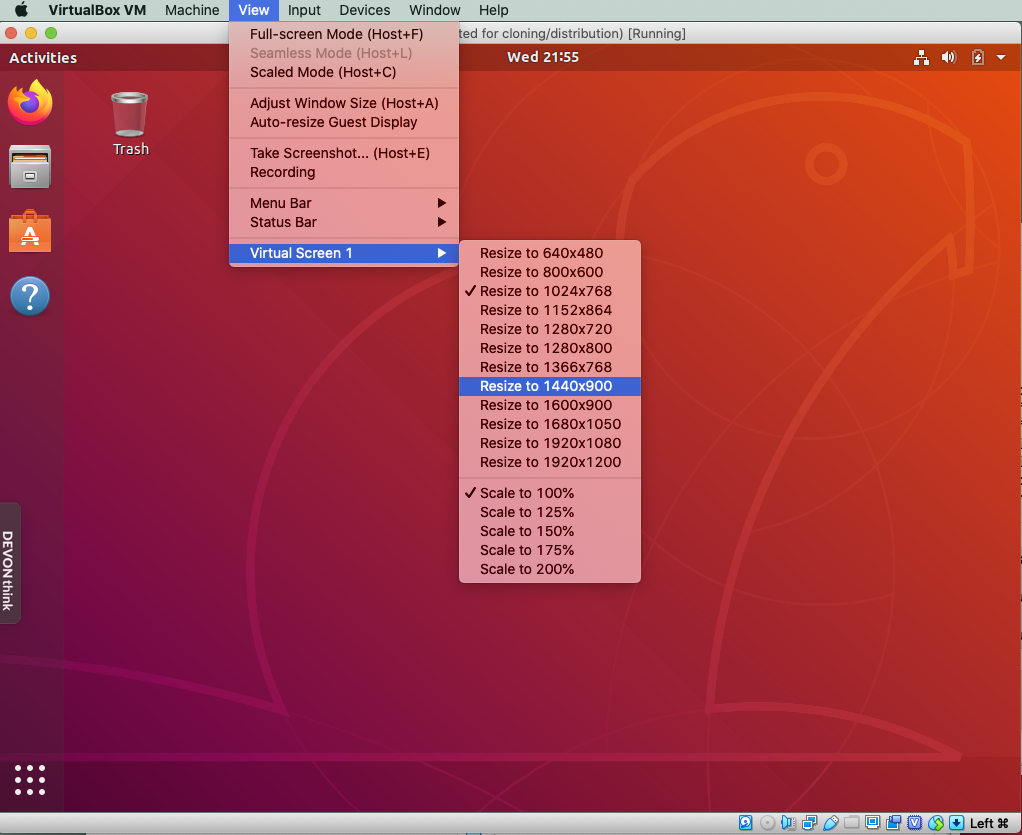
The VM window size can be adjusted to be larger directly thru the VirtualBox client.
The virtual machine can be turned off (shut down) by right clicking on the entry for the VM in the VirtualBox window.
VirtualBox will then prompt you with various choices: (1) save the machine state; (2) send the ACPI shutdown signal; (3) power off of the machine in its current state. Since we have not made any snapshots of the machine state, and have not changed the state of the machine in an appreciable way, then select power off.
This VM contains both the freesurfer 6.0.0 release, the 7.0.0 beta 1 release, and a copy of the tutorial data used in the freesurfer courses from 2019. Please see the README* files for more details in the home directory for the userid login as "developer". However, it does not contain a license.txt file needed to run some commands.
If you already have a freesurfer license.txt file, you can put it in the home directory for uid developer. If you do not have a license file, you can open the FireFox browser and navigate to the URL to get a freesurfer license.
Once there is a license file as ~/developer/license.txt in the VM, then it would be a good time to save the state of the machine as a snapshot. Switch to the snapshot view of the VM in the VirtualBox application window and click on the "take" button.
You will be prompted to name the snapshot and add an (optional) description.
Now in the snapshot view, the current state of the machine is described by this first snapshot.
If you subsequently create another snapshot based upon this first snapshot, it will appear indented in the list via an arrow indicator since the new snapshot was derived from a previously existing snapshot.
Once snapshots are present, VirtualBox will also give you the choice to revert to the previous snapshot when shutting down the machine. Reverting to the previous snapshot will discard any changed made to the machine in the current session since booing up from the previous snapshot.
NOTE: VirtualBox creates a "delta" disk image file against a previous disk image file in order to capture a snapshot. Or in the example above, the virtual disk image file the VM was created from is unchanged after the first snapshot is made. Hence creating snapshots will consume more disk space on the host system. Flattening and merging the snapshots, cloning the VM and then shrinking the size of the new (single) disk image file is beyond the scope of examples listed here.
Now that we know the VM booted successfully using 8G RAM and 2 out of the 4 processors, we could go back and test increasing those resources in order to improve the VM performance.
On a machine with 24G of RAM, we could try increasing the limit to 16G of RAM (4G more than 1/2 total RAM).
On a machine with 8 total available cores, we could up the resources to 4 cores (1/2 the cores).
