Fixing Bad Output From the Talairach Registration
To follow this exercise exactly be sure you've downloaded the tutorial data set before you begin. If you choose not to download the data set you can follow these instructions on your own data, but you will have to substitute your own specific paths and subject names.
FreeSurfer computes a linear Talairach transform contained in a 3x4 matrix in a file called talairach.xfm and is located in the <subject name>/mri/transforms directory. Under some circumstances, the alignment can fail the automatic failure detection scheme (-tal-check flag, which can be disabled via -notal-check).
The best way to check the transform is by loading it visually. This can be done directly from the freeview command line, however new users sometimes feel more comfortable viewing the transform in tkregister2, where it is possible to view the transform on top of the talairach subject. When viewing in tkmedit you can expect some distortion and stretching from the position of your subject - especially a sagittal tilt, but you want to avoid any changes in orientation (i.e., the coronal view of your subject should be the coronal view of your talairach transform), severe changes in positioning in the window (i.e., your transformation should not show up in the top left corner of the view, while your subject is nicely centered), and rotations or twisting. If any of these are seen, you will need to correct your transform. Otherwise, if the talairach transform looks ok you can add the -notal-check flag to recon-all to bypass the talairach check step.
Subject tal_before is an example of a bad talairach. The surface cutting planes are far off center but the problem actually originates from the bad talairach transform. To view this talairach in freeview first be sure you have the subject open:
freeview -v tal_before/mri/T1.mgz -v tal_before/mri/brainmask.mgz:reg=tal_before/mri/transforms/talairach.xfm
If the surfaces are also loaded into freeview you may find it easier if you toggle them off for this part.
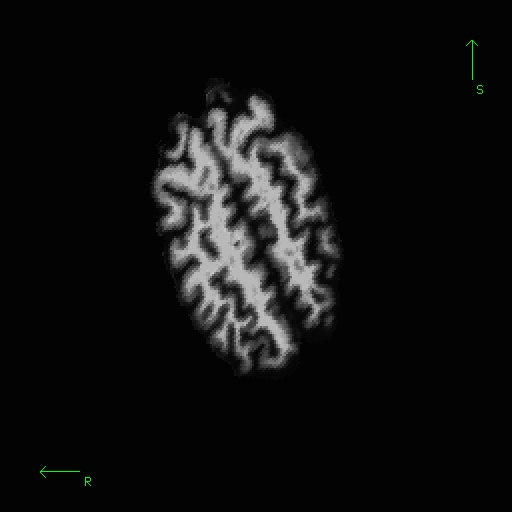
To further view and edit this transform we will use tkregister2. To open this you can close the freeview window and open tkregister2 with the command:
tkregisterfv --s tal_before --fstal --surf orig
Note: If your subject surfaces are not yet available, then exclude the --surf orig flag from tkregister2.
Brief descriptions on how to operate tkregister2 are given below. More documentation is also available by running "tkregister2 --help".
You will see the subject's volume as the TARGET volume and your Talairach volume as a fuzzy MOVEABLE volume. The green lines are the orig surface from the subject. This will be the same in both the TARGET and the MOVEABLE. It can be turned on and off by clicking in the image window and hitting the 's' key.. Find the fmov: box in the tkregister toolbar and make sure it is set to 1.0.
The goal is to stretch, translate, and rotate your MOVEABLE volume so that the two brains look as similar as possible, at least along the key anatomical points (anterior/posterior commissures, the temporal lobes in the coronal plane, and the midline cut).
Use Ctrl-1 and Ctrl-2 to switch between the two volumes (or hit the COMPARE button). You will want to do this frequently to check your progress. Click the SAGITTAL button to switch to a sagittal view, and go to slice 128 by using the slider directly below the SAGITTAL button. In this view you have a good view of the corpus callosum in both the moveable and target volumes.
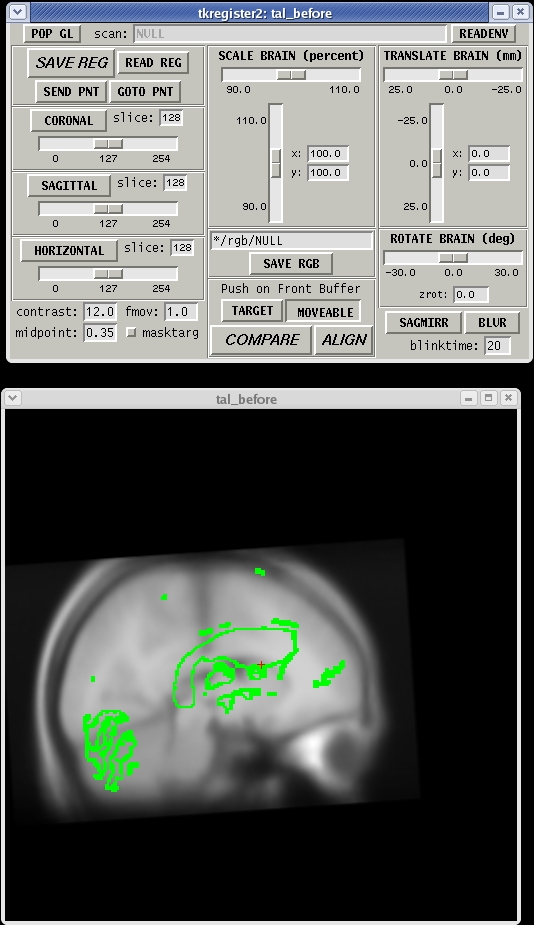
To rotate the moveable volume, use the ROTATE BRAIN slider. You will want to move the slider only a couple of degrees at a time until you achieve the desired effect. You will notice a small red cross icon near the middle of the viewing window. This is the center of rotation. You can change the location of the center of rotation by left-clicking in the viewing window with your mouse.
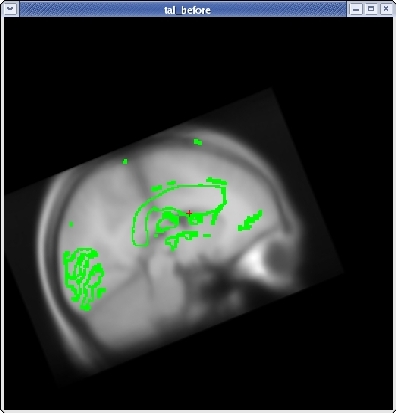
For translation, there are two sliders: one to move the volume left and right, and one to move the volume up and down. Next, translate the moveable brain upwards by using the TRANSLATE BRAIN vertical slider. Again, you only want to move the volume a couple millimeters at a time. You can move the volume left and right in the same way.
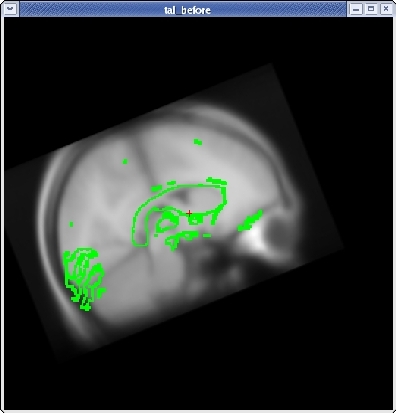
Once you have the corpus callosum aligned as well as possible in the sagittal plane, click the HORIZONTAL button to get a horizontal view, and use the slider directly below the HORIZONTAL button to go to slice 128. Use Ctrl-1 and Ctrl-2 to switch between the two volumes. Use the ROTATE BRAIN and TRANSLATE BRAIN buttons as before to align the midlines of both volumes.
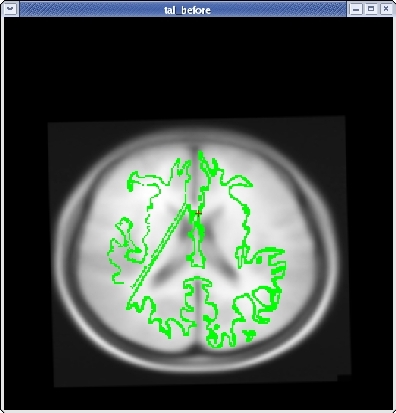
Once you are done aligning the brains in the horizontal view, switch back to slice 128 in the sagittal view. Fine tune your rotation and translation again until the corpus callosum is once again aligned in both volumes.
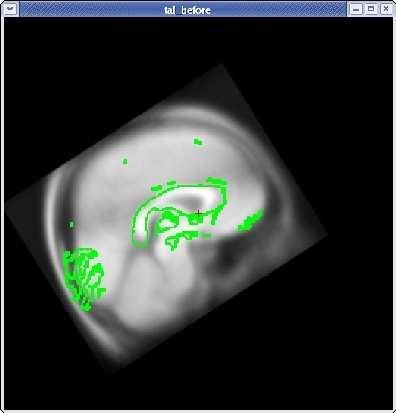
Click the CORONAL button, and go to slice 128. Align the midlines of the brains again in the same way.
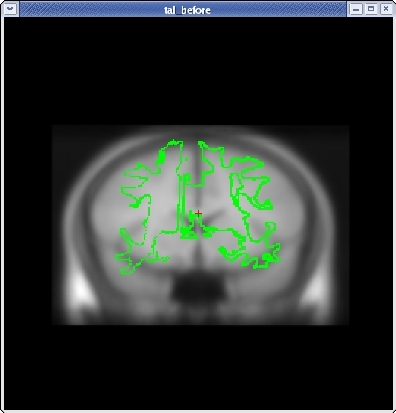
Continue this way, switching frequently between the HORIZONTAL, SAGITTAL, and CORONAL views, and align the visible brain structures as much as possible in all of the slices. Use the SCALE BRAIN button as needed to scale the brain in the X and Y direction. Keep in mind that you are working in 3D, not in 2D, so any changes made in one view will affect the other views as well.
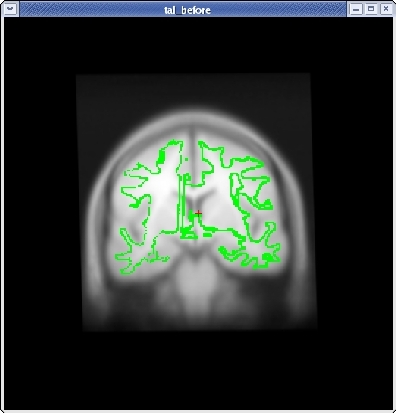
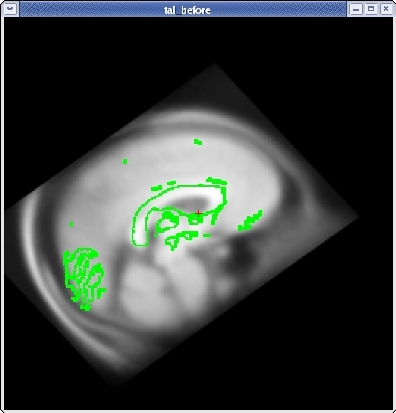
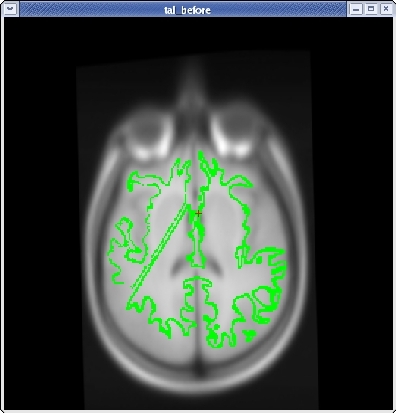
When you are satisfied with your registration result, click the SAVE REG button in the tkregister2 toolbar. You can close tkregister2 by closing out the toolbar (but not the viewing window), or by typing Ctrl-C in in the same terminal window as the new matrix.
Because the talairach transformation affects everything in the stream it is necessary to rerun the whole process using your new talairach, which is a default. You can do this with the command (this step will take a long time to run, so DO NOT run this step for the purposes of this tutorial):
recon-all -all -subjid tal_before
You can compare your new talairach to the one in tal_after.
freeview -v tal_before/mri/T1.mgz \
tal_before/mri/brainmask.mgz:reg=tal_before/mri/transforms/talairach.xfm \
tal_after/mri/brainmask.mgz:reg=tal_after/mri/transforms/talairach.xfm
Lastly, there is an alternate means of producing a talairach transform that may work better in some cases. To run that method, use this command (again, this step will take a long time to run, it is not necessary to run this step for the purposes of this tutorial):
recon-all -s tal_before -talairach -use-mritotal -tal-check -clean-tal
This runs the mritotal utility from the MNI toolset. Note that for this particular subject example, it happens to produce worse results than the default talairach transform method. Also note that the -clean-tal flag will delete any existing talairach.xfm file. See also TalFailV5.1.
